DIY 004 || SHIPLAP ACCENT WALL
Walls don't have to be boring. Add visual interest with a shiplap accent wall. Watch as Pat from Benevolent Design Co. helps us LOVE THE ROOM.
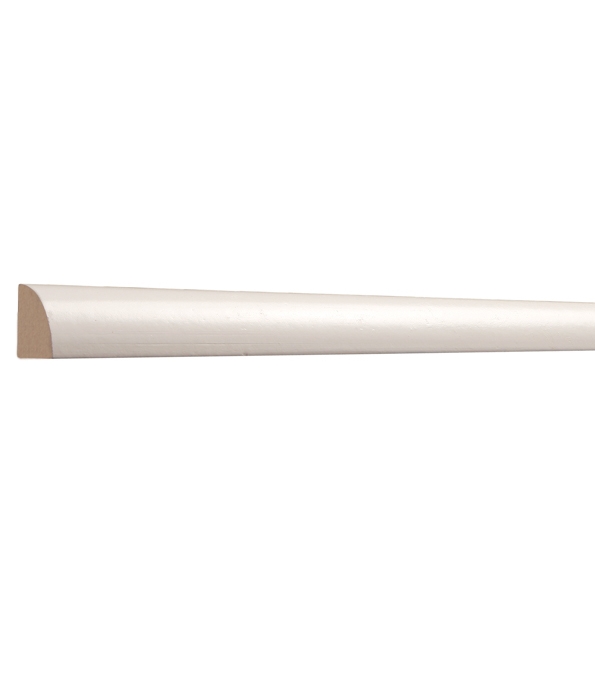
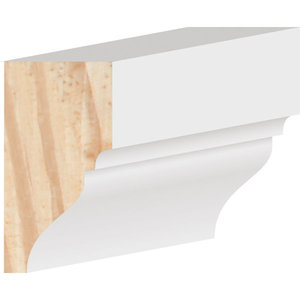
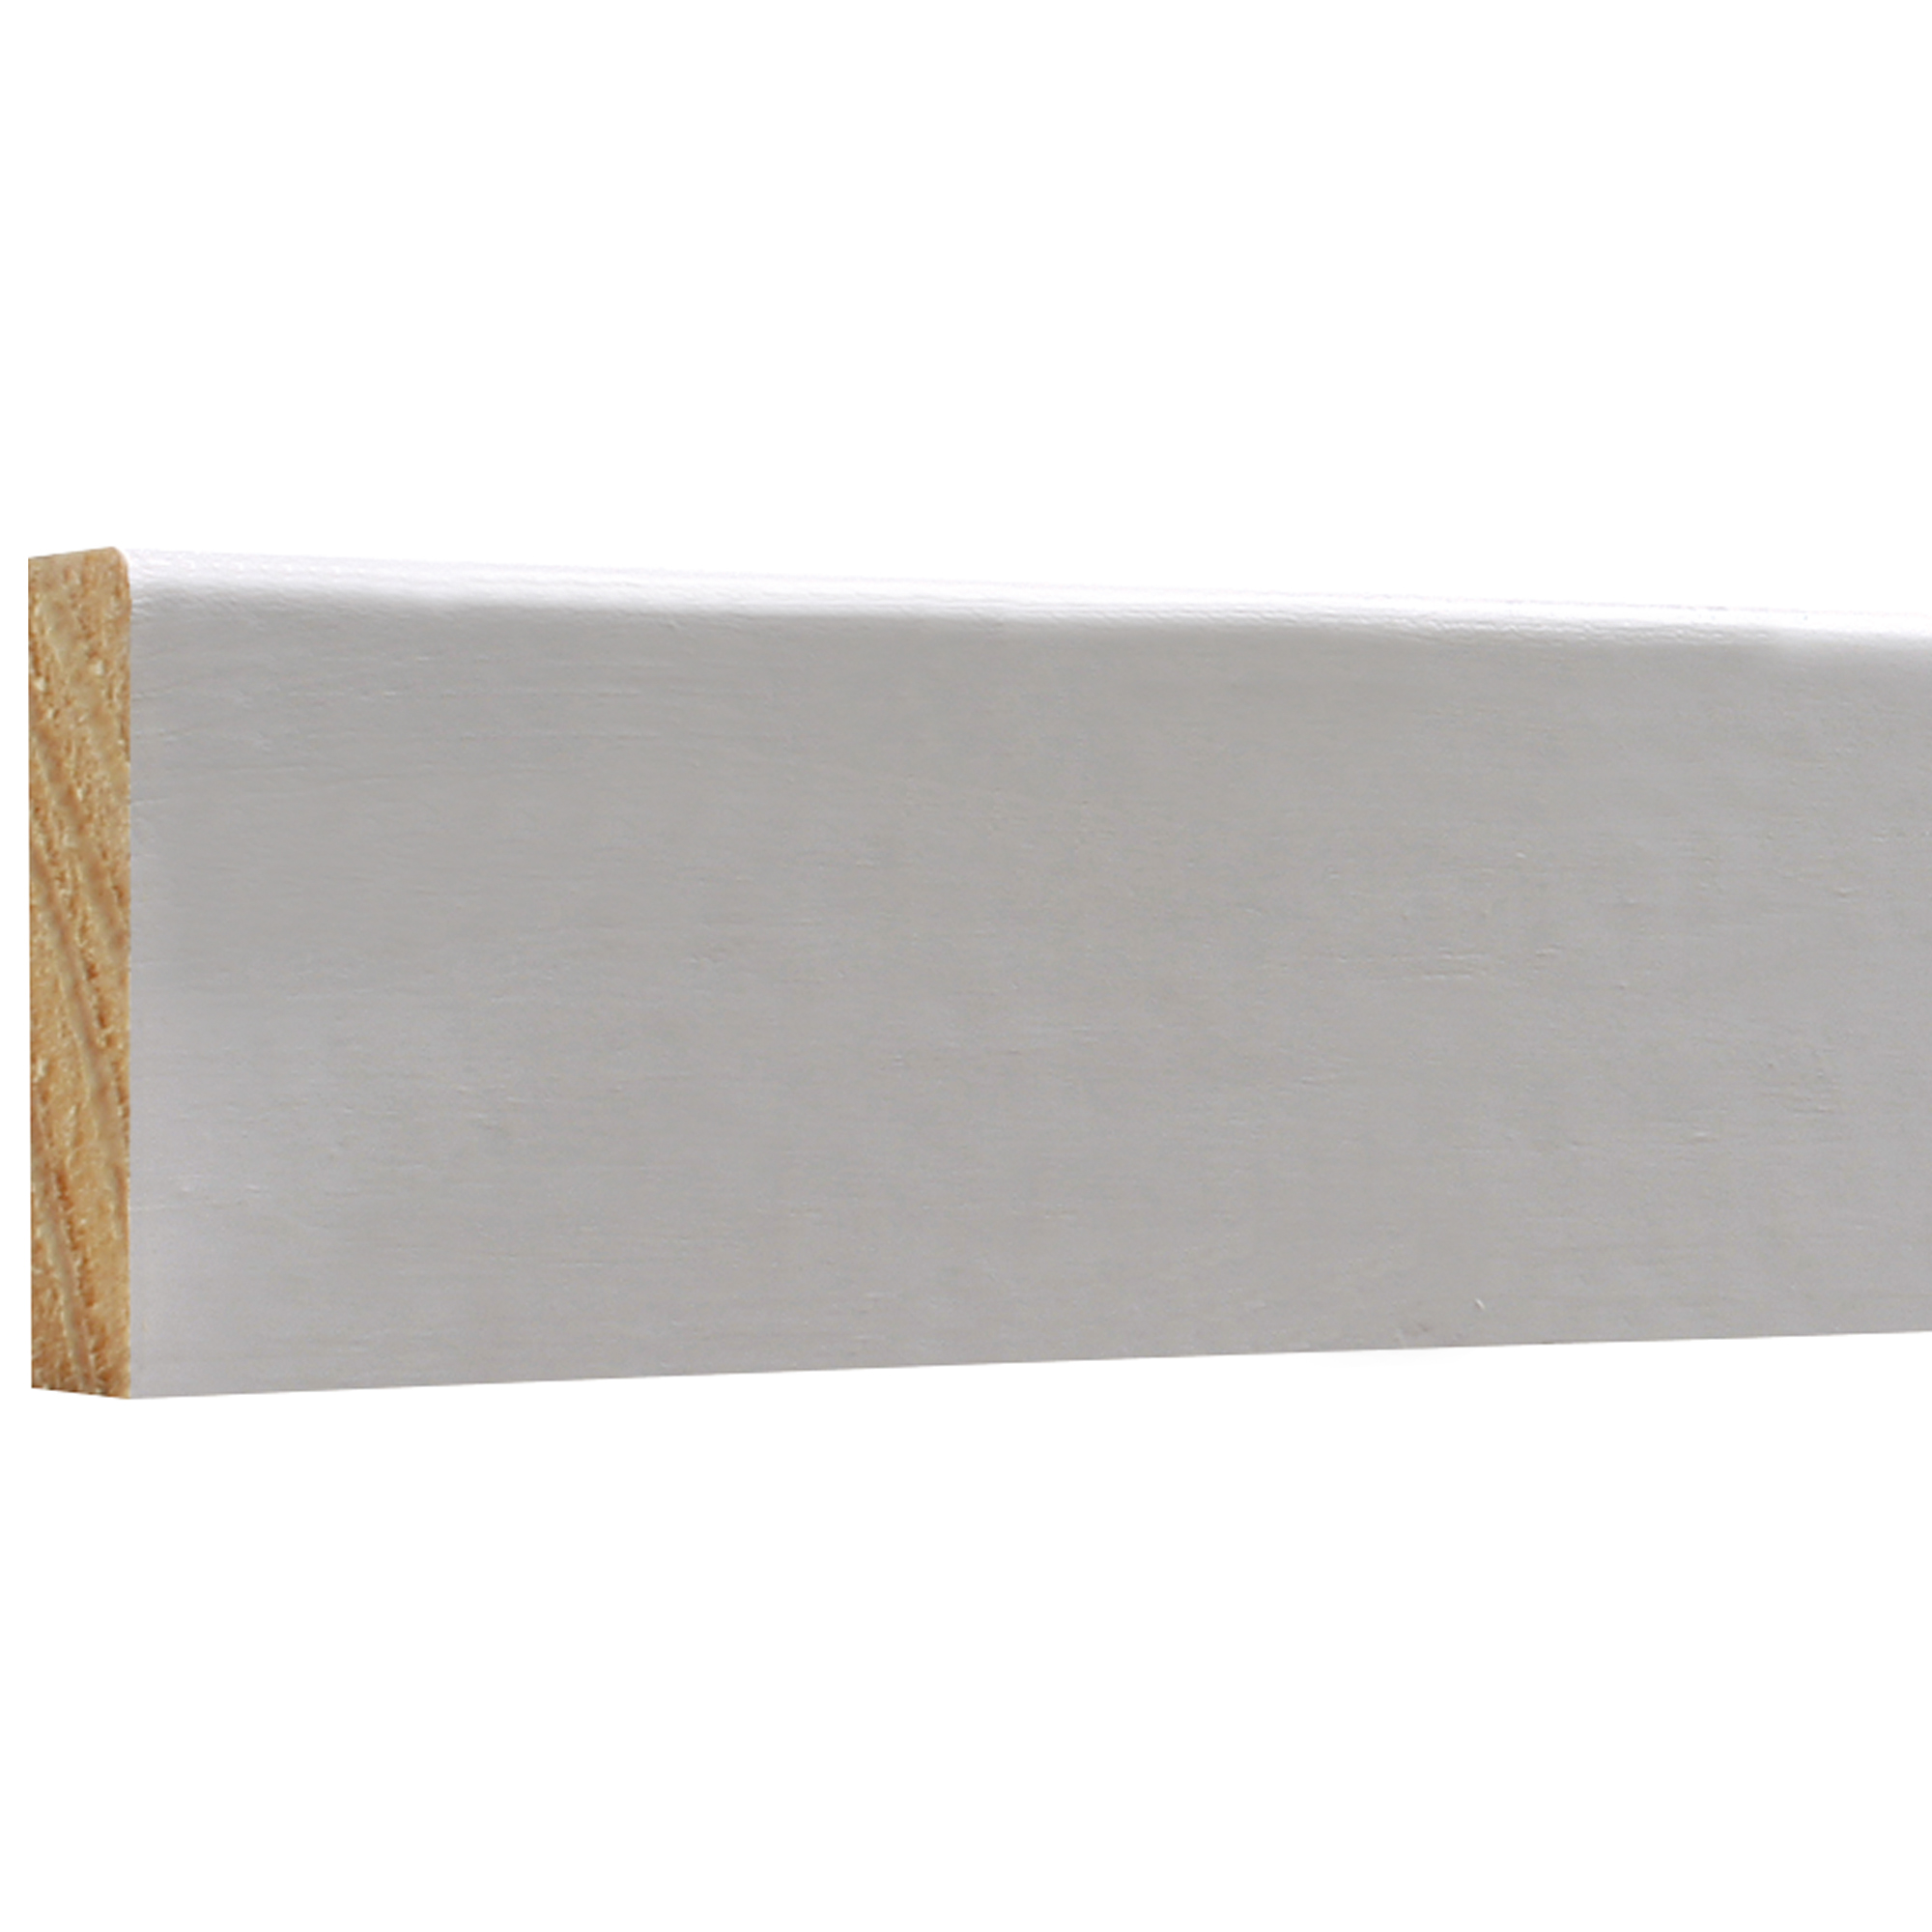
ITEM LIST

INSTRUCTIONS
Always wear safety gear, read the manufacturer's labels and use caution when performing an install.

STEP 1
DEMO || Remove any switch plates and vent covers. Set parts aside in a safe area so they are not lost. Remove old crown moulding, base and casing by first lightly scoring the paint line where the moulding meets the wall with a razor blade. Place pry bar behind moulding and gently pry it away from the wall. Once all moulding and fixtures are removed, clean up all debris.

STEP 2
MEASURE || Measure twice and cut once. It is important to get the measurements correct so that you end up with a tight install.


STEP 4
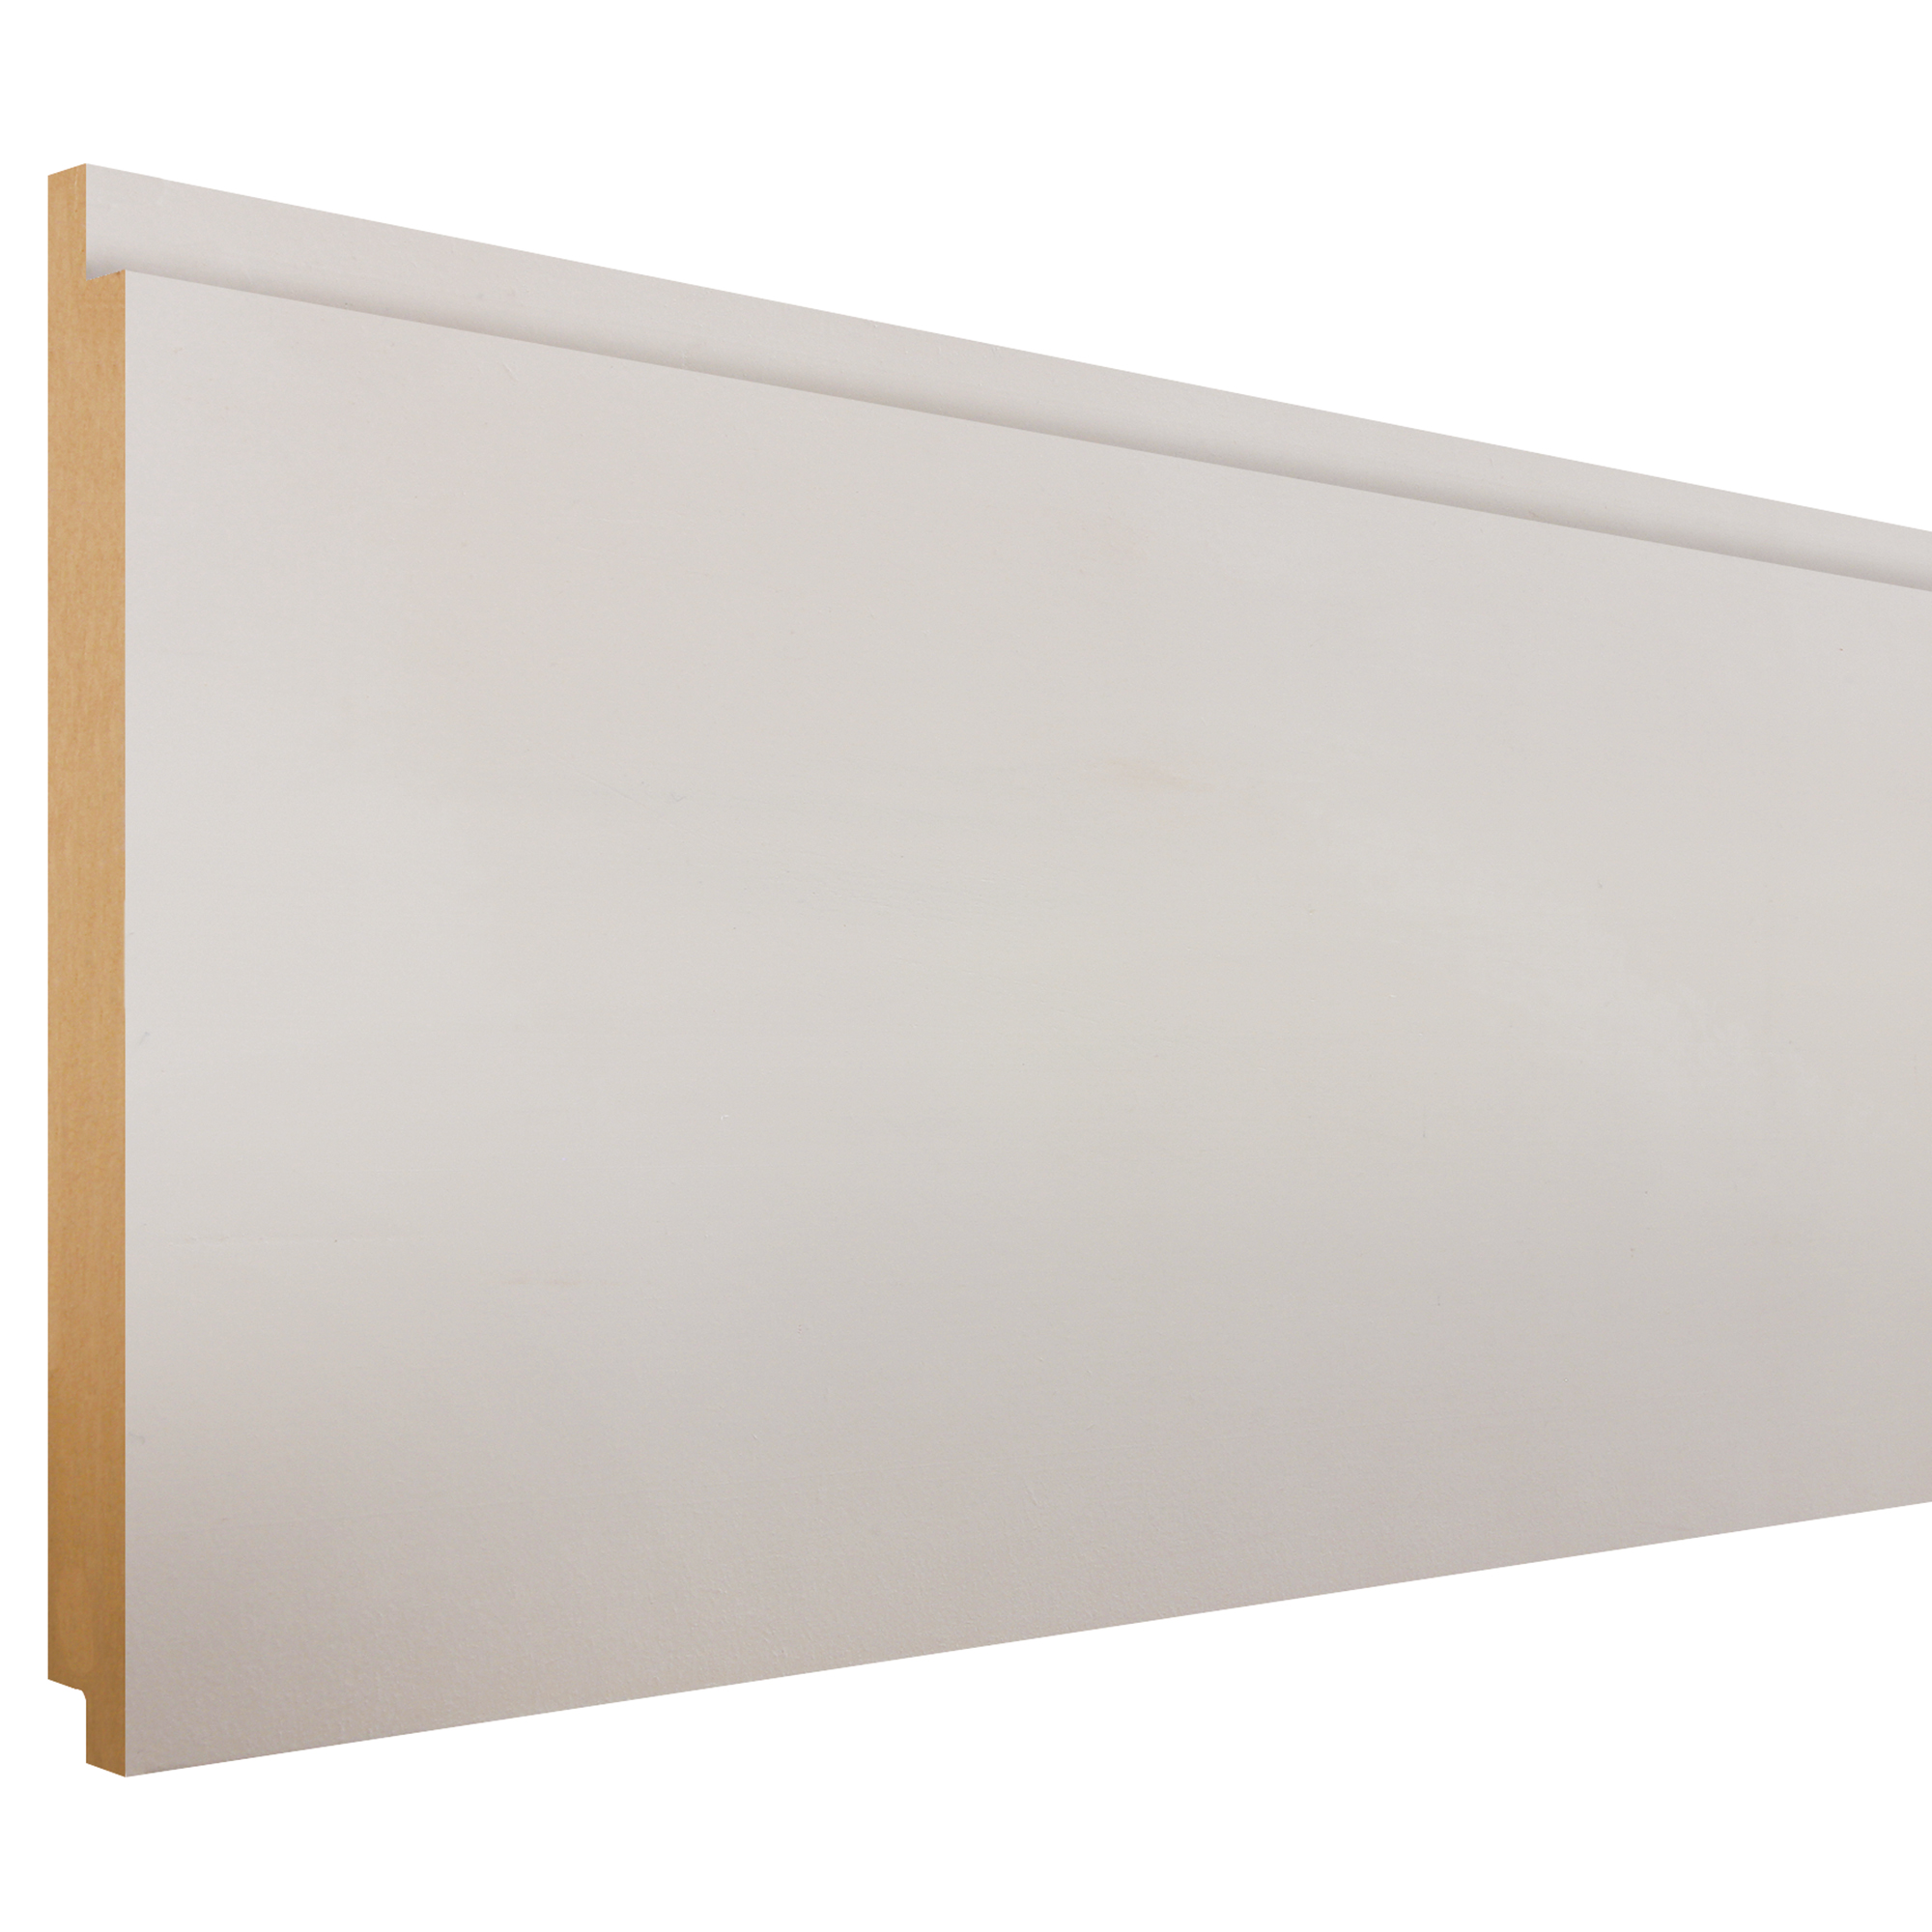
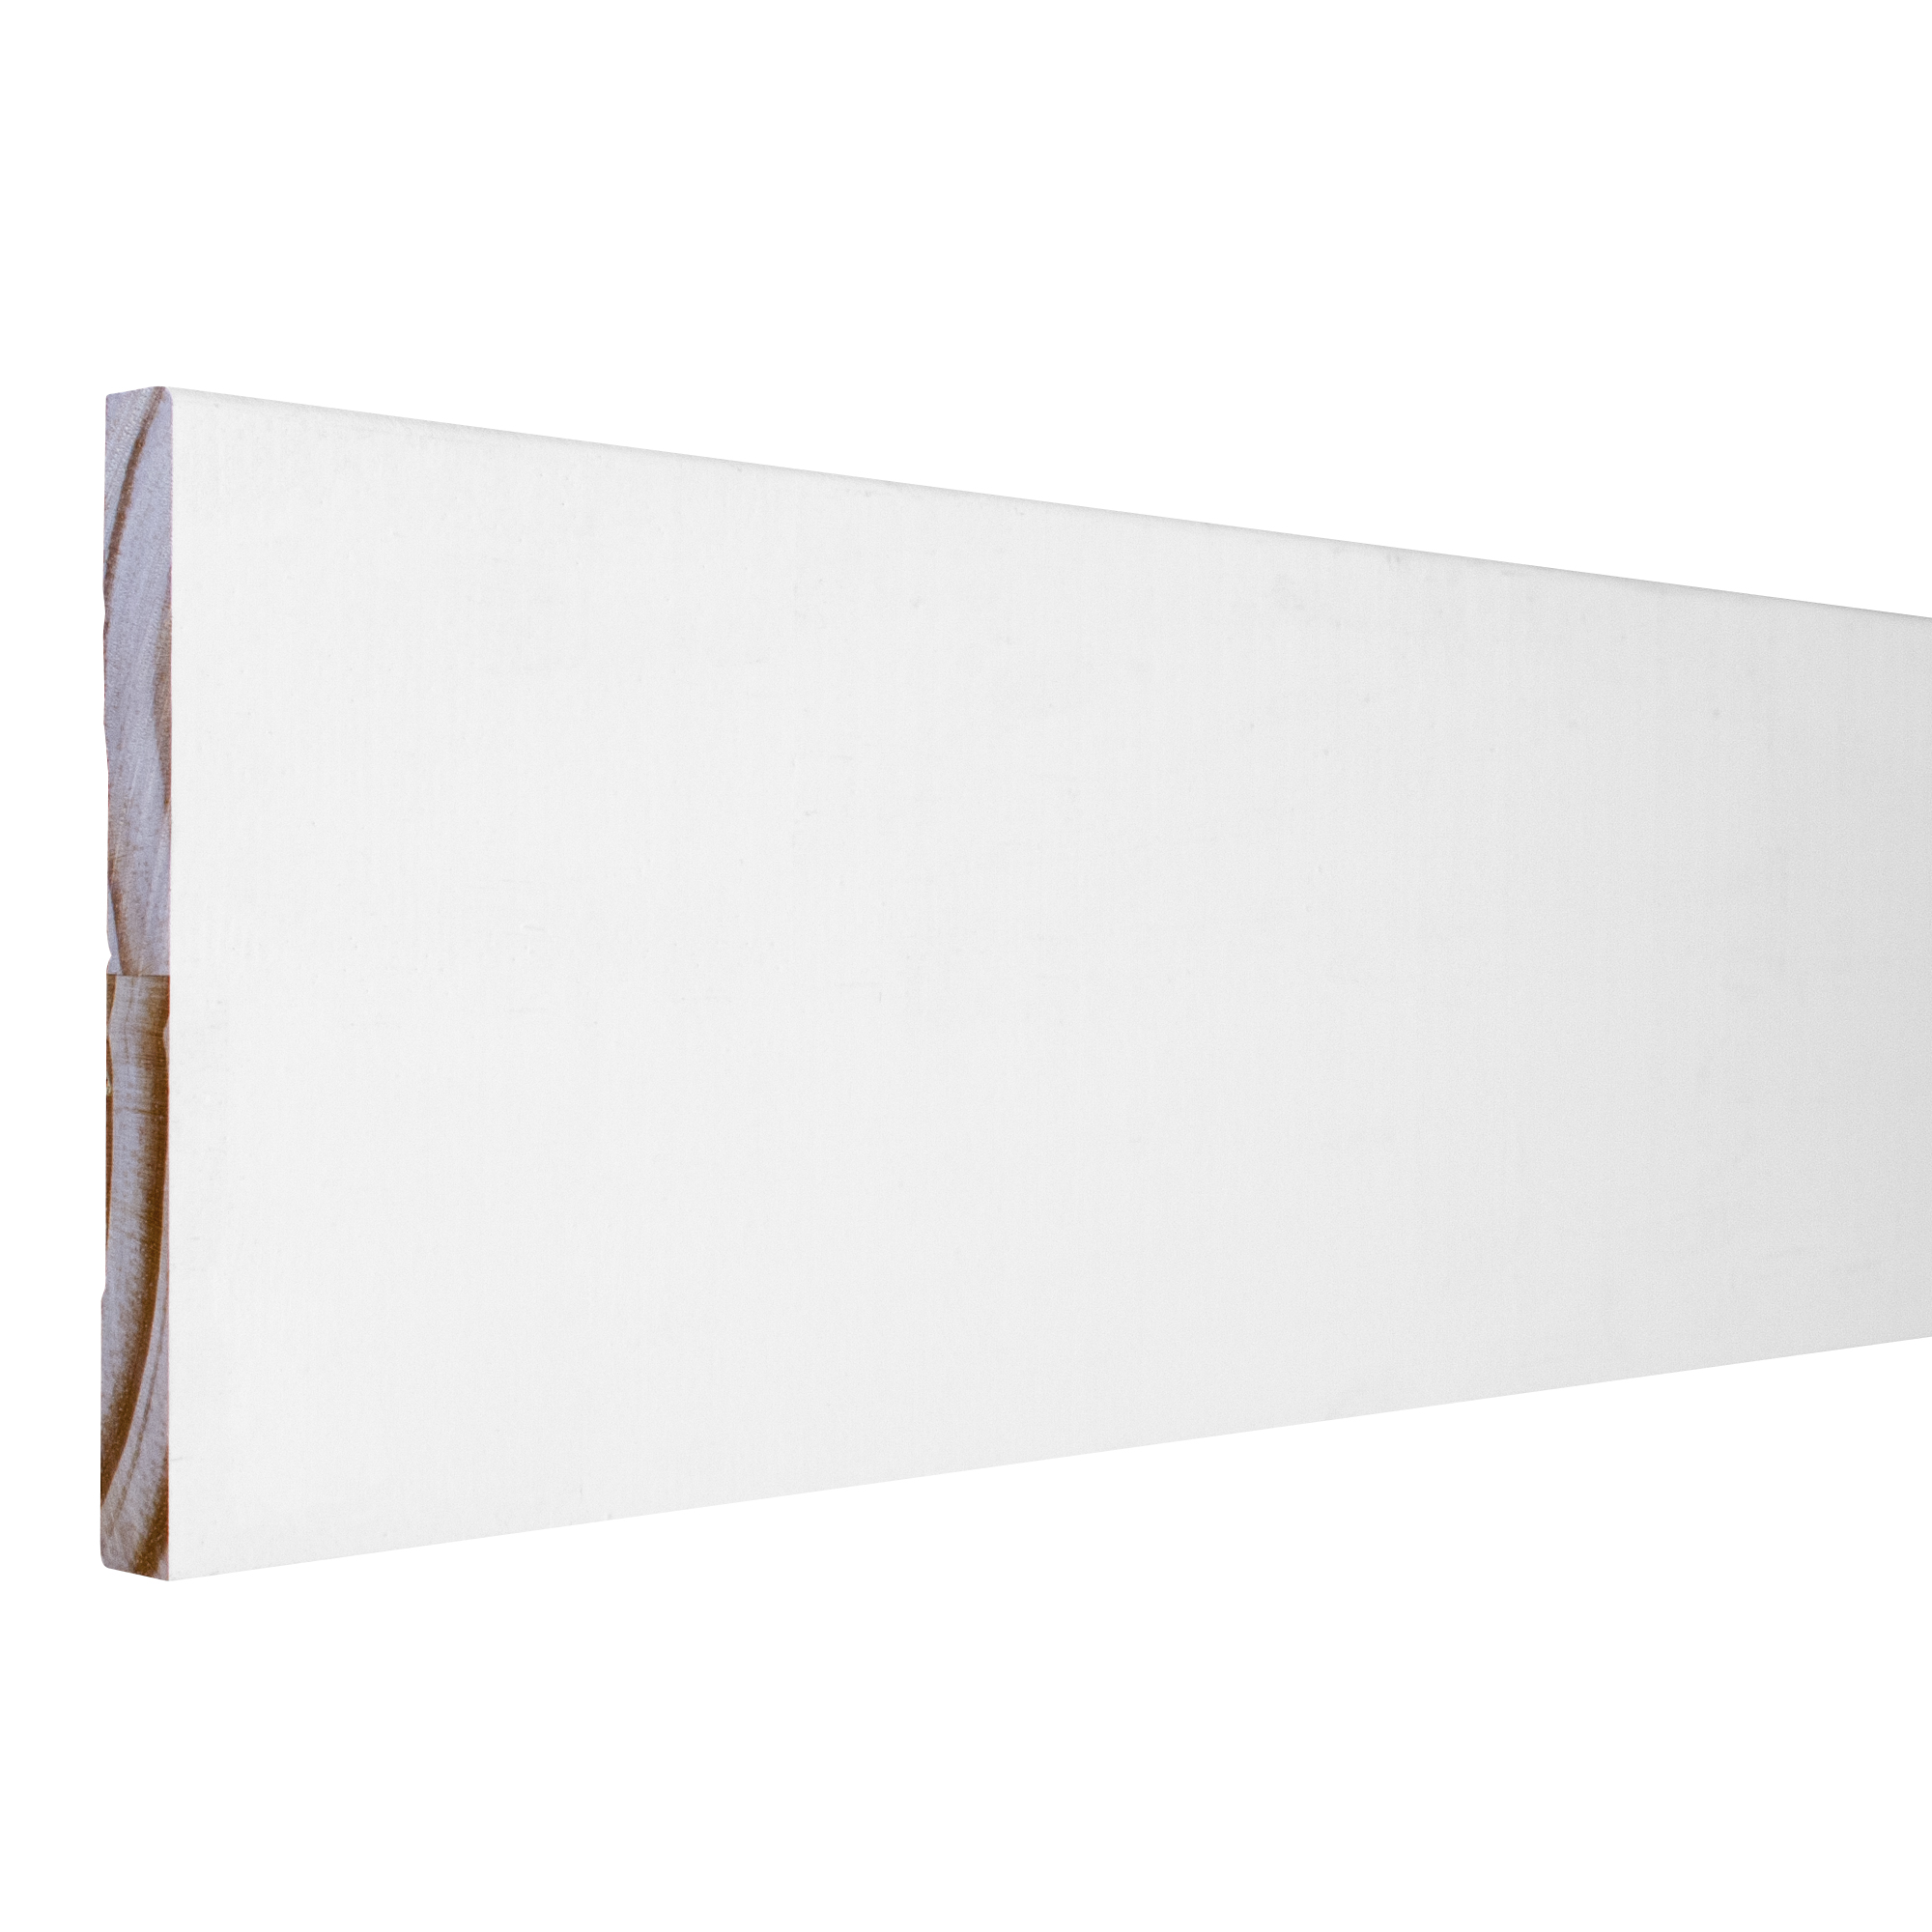
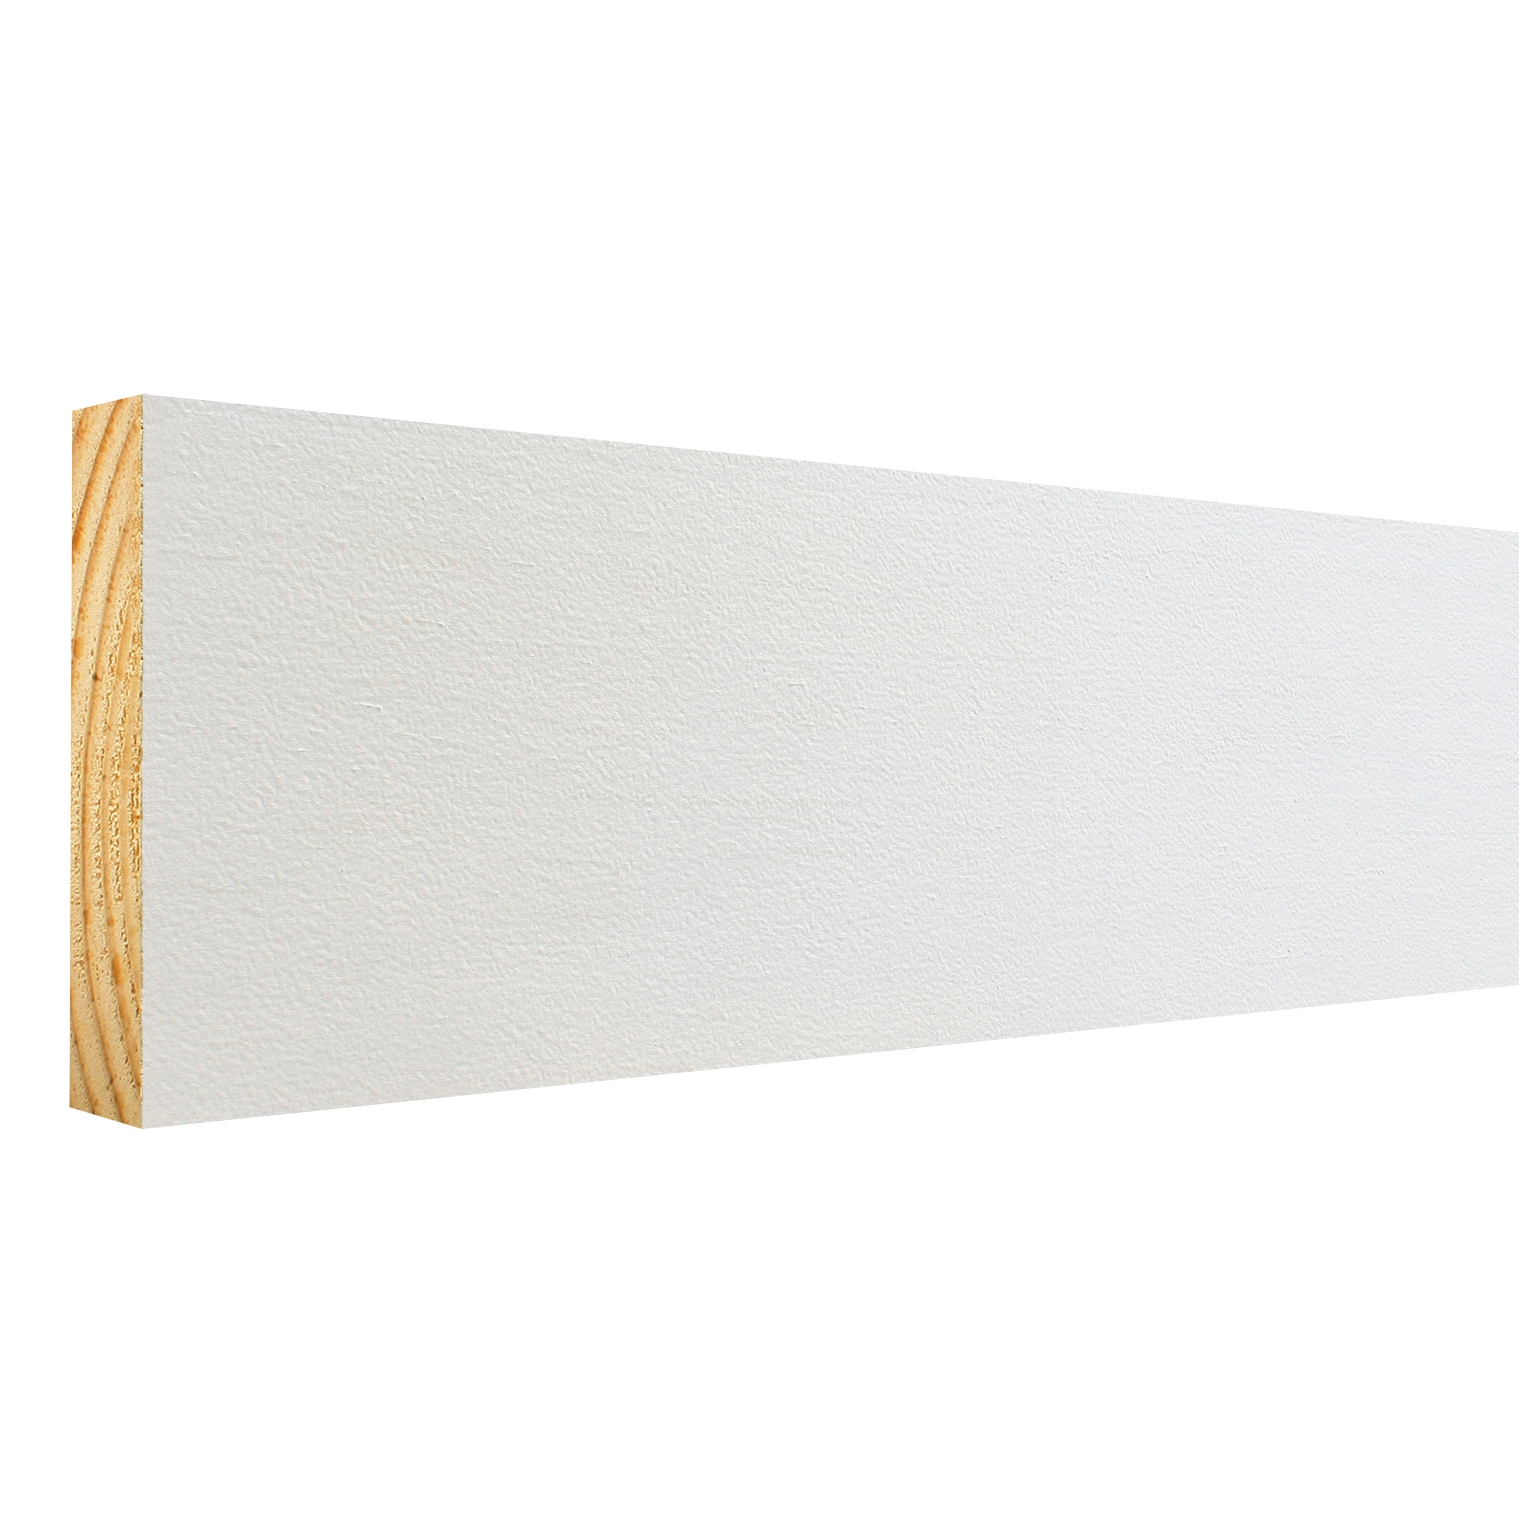
CUT || Cut shiplap to width of the wall by using hand saw with a miter box or an electric miter saw. Use a jigsaw or hole saw to cut space for shiplap to fit around vents and light switches. If needed, use a table saw or circular saw to rip the last piece of shiplap to the correct width to fit snug against the ceiling.

STEP 5
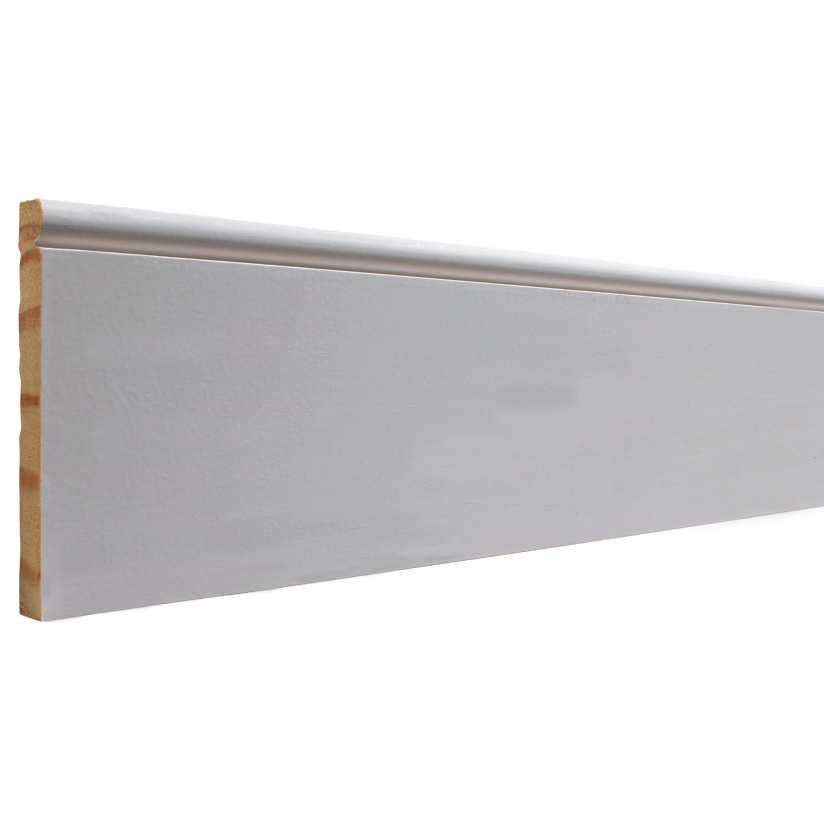
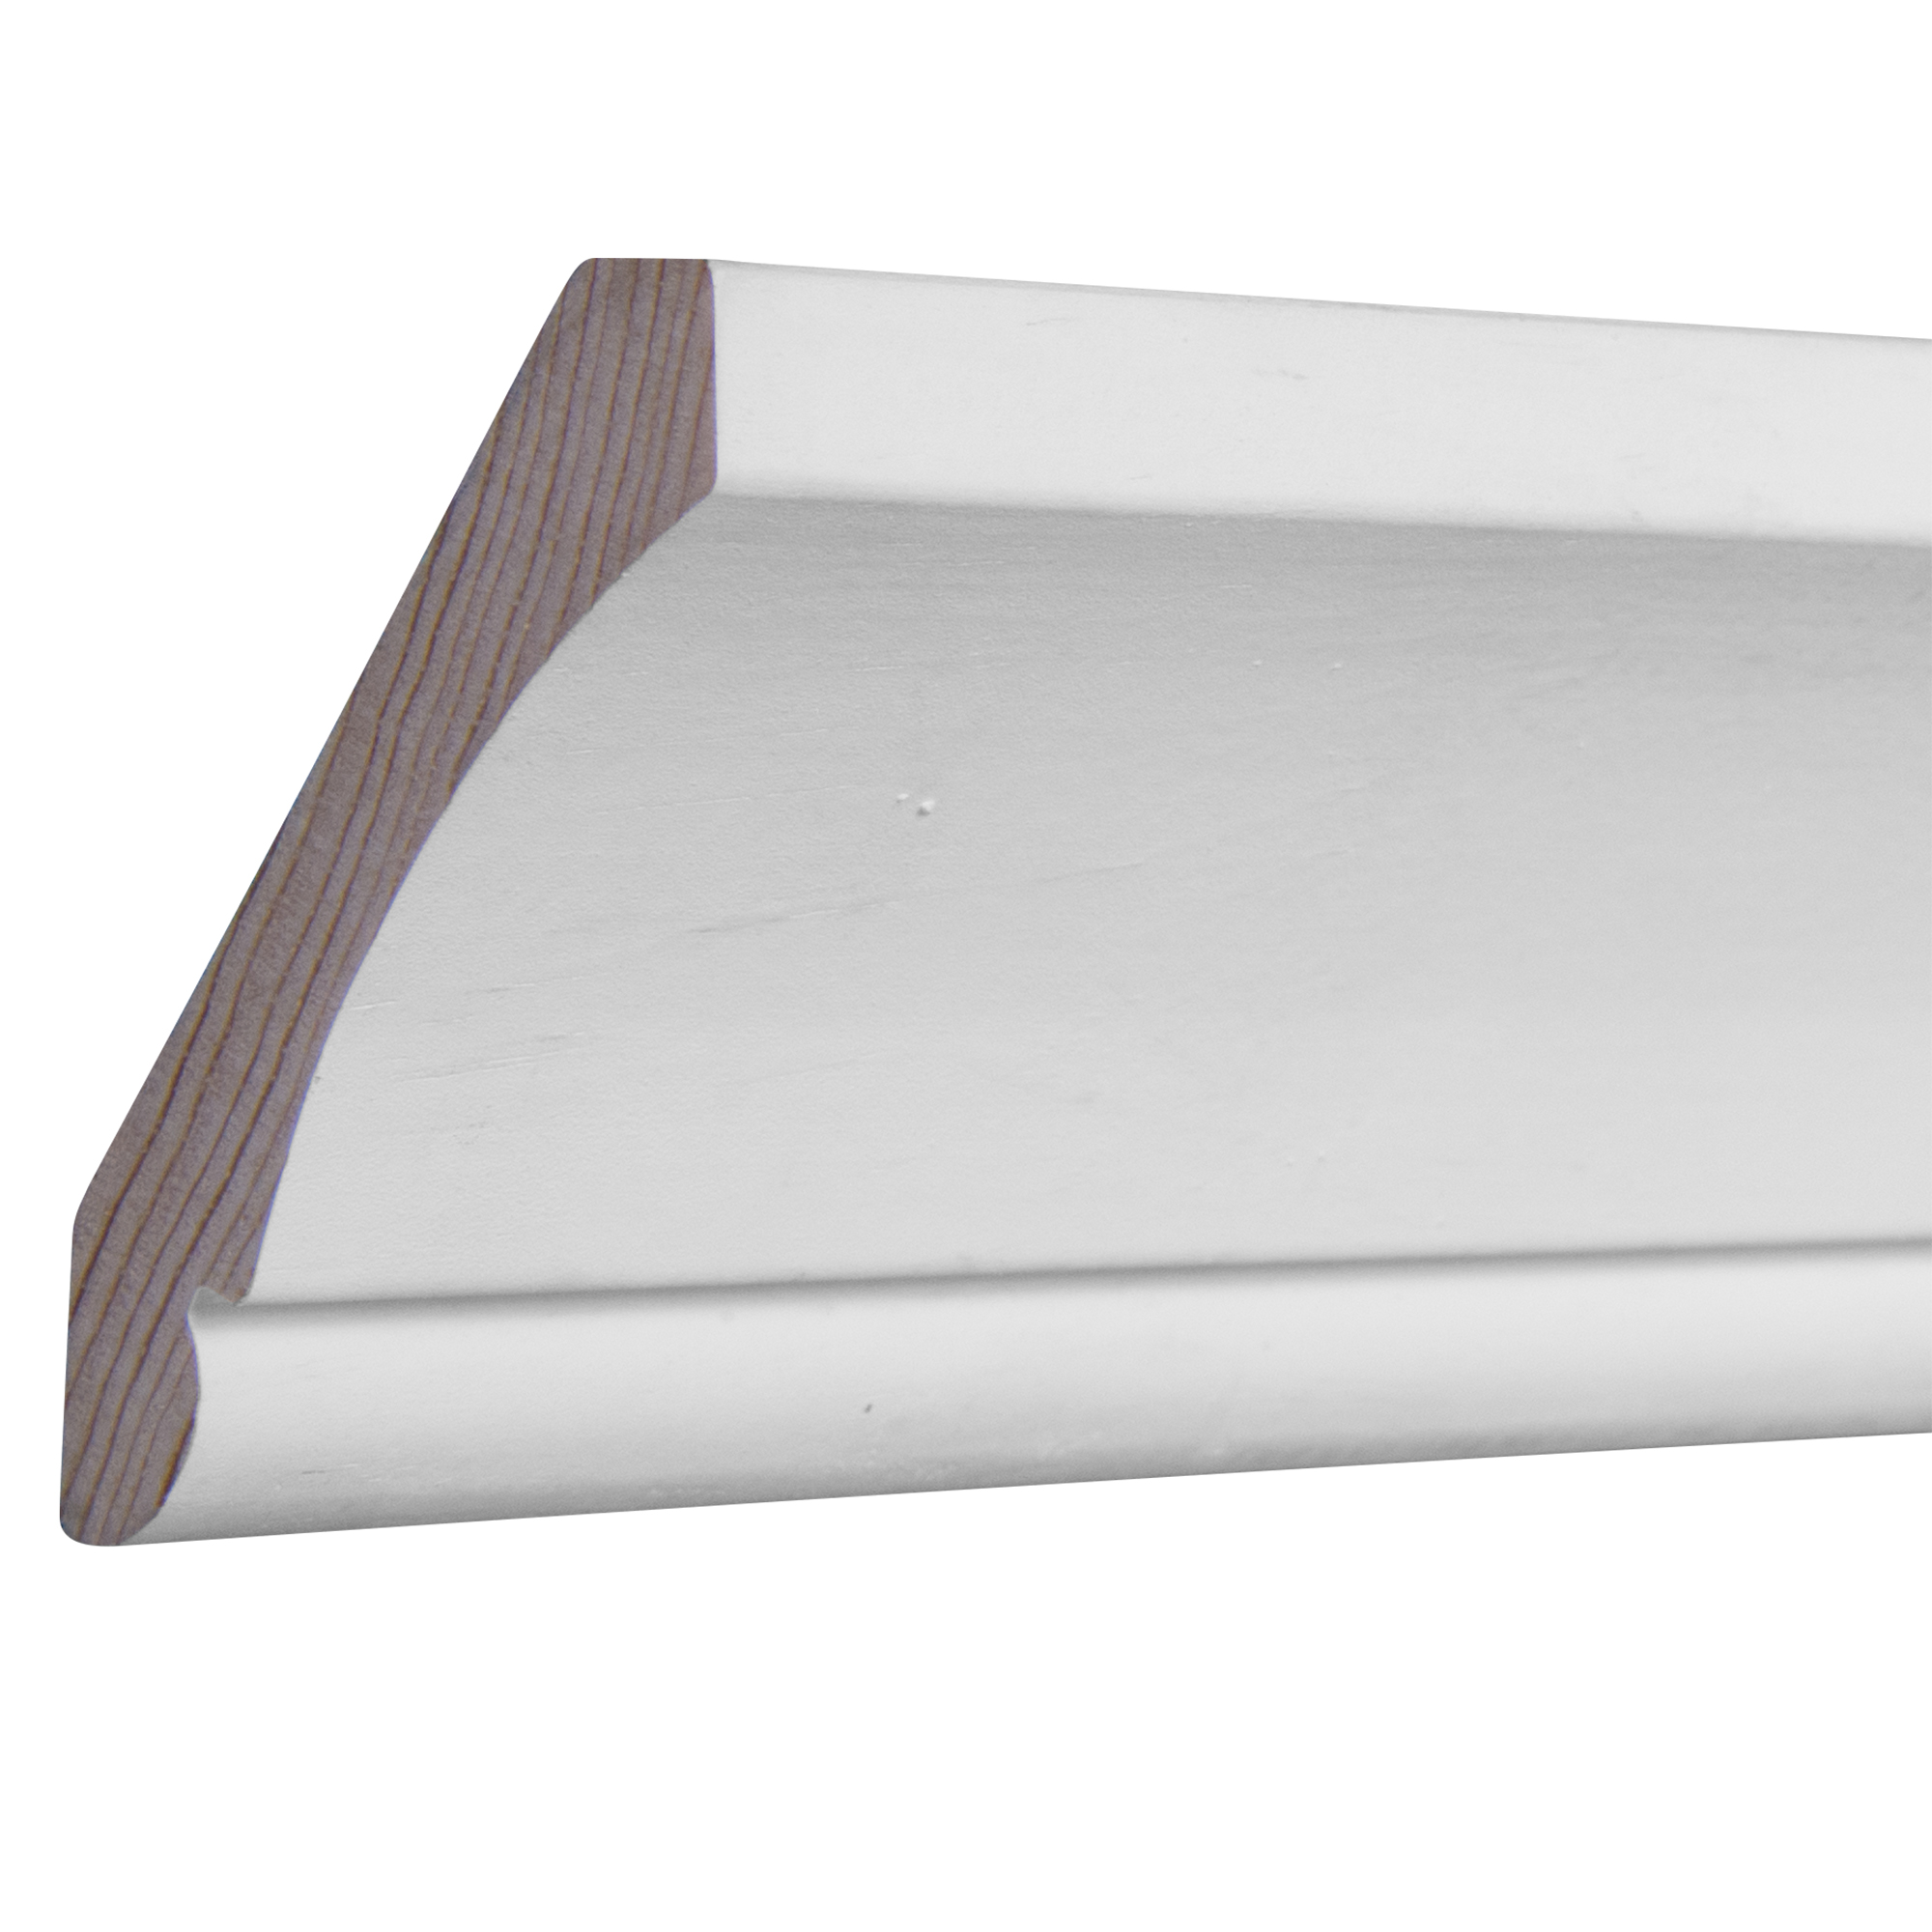
INSTALL || Use a stud finder and pencil to mark the studs. Nail through the tongue of the shiplap into the studs using a finish nailer. Face nail the shiplap to the studs as well. 18-gauge brad nail and compressor kits are pretty inexpensive and well worth it. Check that the shiplap is plumb and level along the way. Install the crown, base and casing of your choice once the shiplap has fully covered the wall.
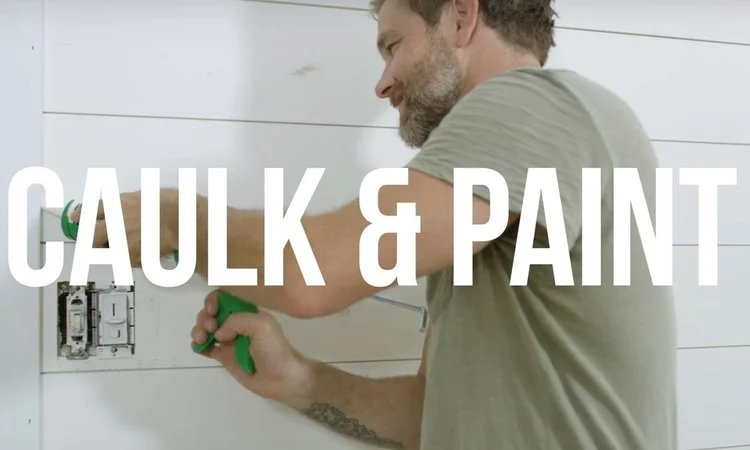
STEP 6
CAULK & PAINT || Caulk all nail holes and areas where the shiplap meets other moulding and the wall with a paintable caulk. Follow manufacturer's instructions on the tube. Once the caulk has set, touch up with paint.

FINISHED
LOVE THE ROOM || At this point everything should be finished and looking good! Take a moment to revel in your completed project....Then immediately take a picture and show off your new space using #LoveTheRoom :-)