DIY 001 || KID'S ROOM UPGRADE
Moulding can make a huge difference in a small space like this kid's room. Pat from Benevolent Design Co. helped transform this space by replacing all of the builder grade Colonial moulding with more modern profiles. The new Craftsman Collection at Lowe's Home Improvement achieved just the look we desired. However, this DIY project can be customized with the moulding and paint color of your choice.
ITEM LIST


INSTRUCTIONS
Always wear safety gear, read the manufacturer's labels and use caution when performing an install.

STEP 1
DEMO || Remove all old baseboards, casing and crown by first lightly scoring where the moulding meets the wall with a razor blade. Place pry bar behind moulding and gently pry it away from the wall. Once all moulding is removed, clean up all debris.

STEP 2
MEASURE || Measure twice and cut once. It is important to get the measurements correct so that you end up with a tight install.
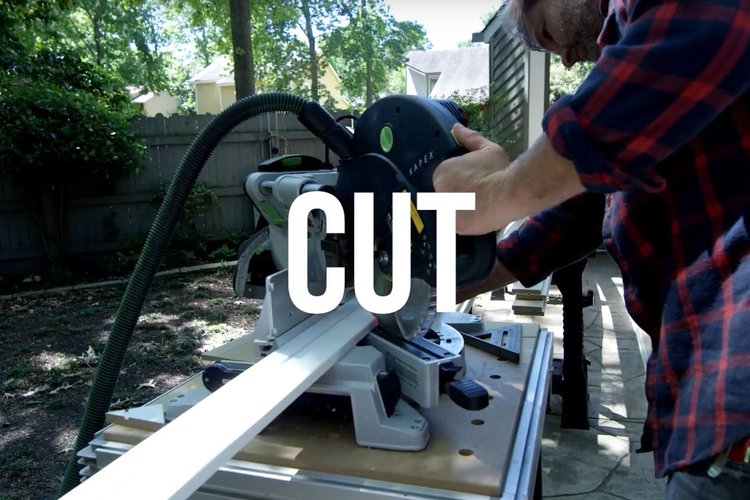
STEP 3
CUT || Again, make sure to measure twice and cut once. Cut moulding for each section by using hand saw with a miter box or an electric miter saw.

STEP 4
INSTALL || Nail cut moulding to the wall using a hammer and finish nail set or speed up the process with a nail gun. 18-gauge brad nail and compressor kits are pretty inexpensive and well worth it. As you install, use a level to make moulding is plumb and level.

STEP 5
CAULK & PAINT || Caulk all seams and nail holes with a paintable caulk. Follow manufacturer's instructions on the tube. Once the caulk has set, touch up with paint. TIP: Pre-paint moulding before install and then touch up after install.

FINISHED
LOVE THE ROOM || At this point everything should be finished and looking good! Take a moment to revel in your completed project....Then immediately take a picture and show off your new space! :-)